

The BEST S’mores Cookies Ever (Soft, Gooey & Bakery-Style Stuffed Cookies)
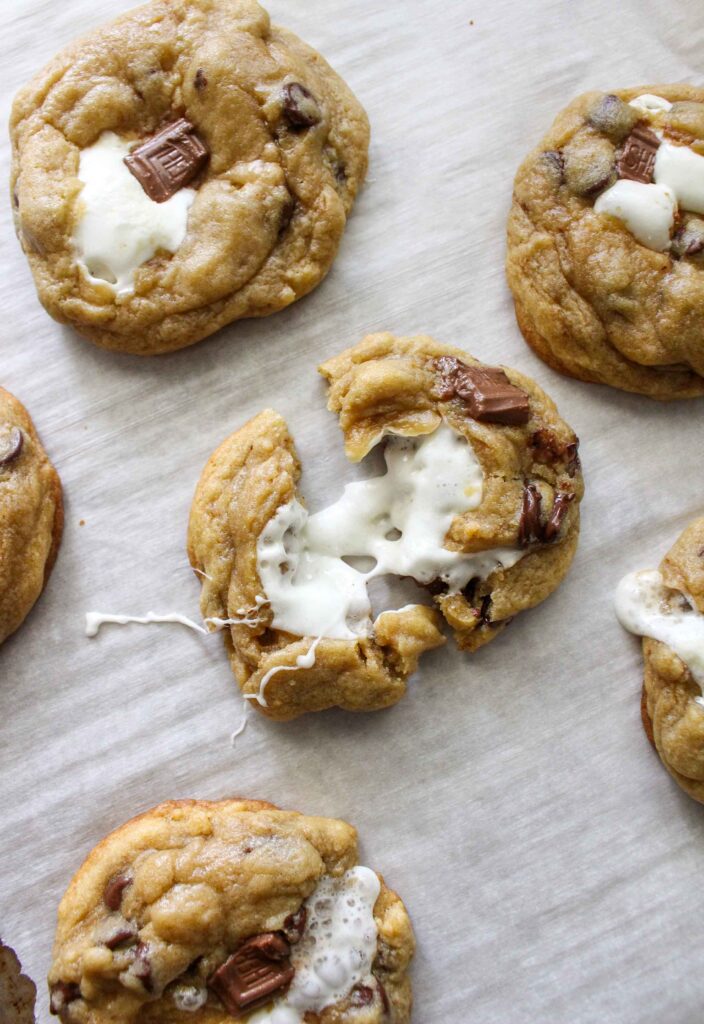
These are the BEST S’mores Cookies ever! Soft and chewy graham cracker cookies stuffed with gooey marshmallows and loaded with chocolate. The ultimate bakery-style cookie recipe for summer, campfires, and every chocolate lover.
Nut Free
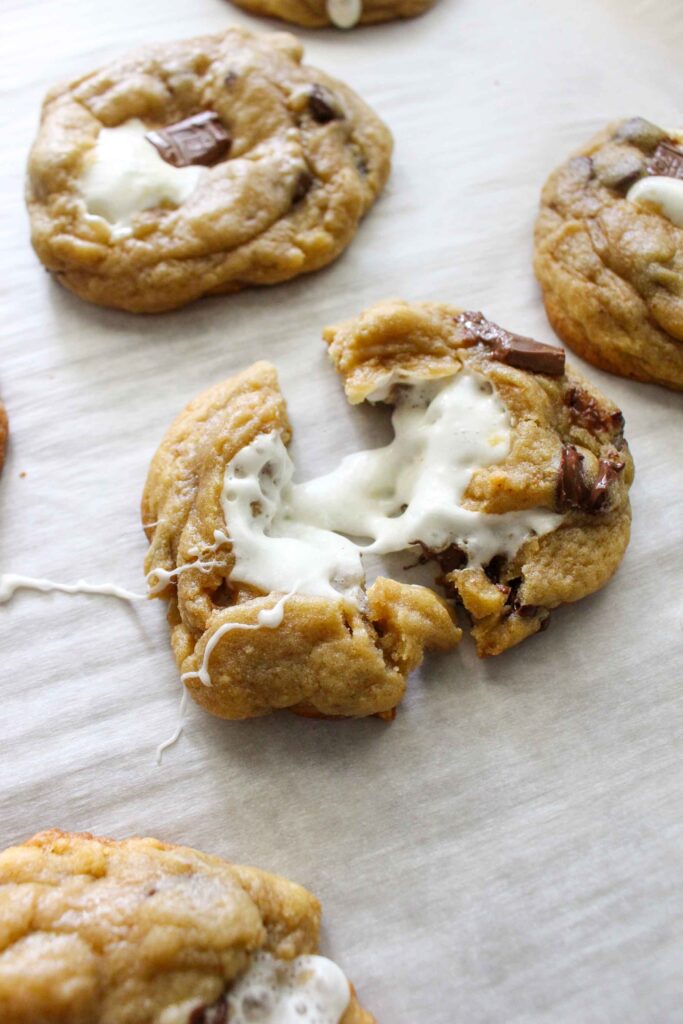
There’s something about when summer hits that I just want to create ALL the s’mores recipes! S’mores are such a quintessential summer dessert to me, and even adults love the nostalgic feel of any s’mores dessert.
A few years ago I created these No Bake S’mores Bars, and last summer I created these S’mores Cookie Bars. I tested the Cookie Bars so many times I have friends still weighing in on which version they like the best!
This year, instead of bars, I turned the chocolate chip s’mores dough into a stuffed bakery-style cookie.
As much as I’m a registered dietitian who loves fresh, nutritious food, I’m also a baker at heart. Nothing makes me quite as happy as perfecting a dessert recipe (it’s a science!).
These are truly the BEST S’mores Cookies Ever because they’re…
- Thick, soft, bakery-style cookies
- Filled with a gooey marshmallow center
- Loaded with chocolate chips and Hershey’s chocolate
- Graham cracker flavor is mixed into every bite
- Perfect for summer parties and holidays (I bring them everywhere!)
- Easy to make ahead by chilling the dough
- Freezer-friendly – I’ve whipped them out of the freezer for last minute get-togethers many times!
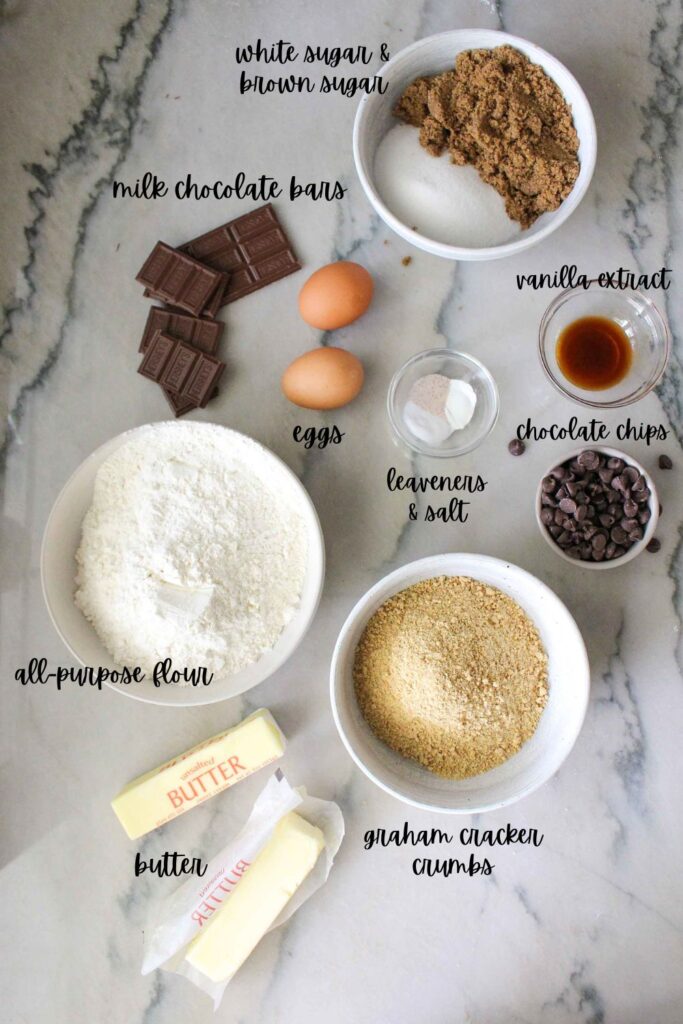
Ingredients You’ll Need to Make the Best S’mores Cookies Ever
- Butter creates a rich, buttery cookie with the perfect chewy texture.
- White and brown sugars create crispy edges while keeping the centers soft and chewy.
- Vanilla extract adds warmth and enhances the chocolate flavor.
- Eggs help create a smooth cookie dough.
- Baking powder and baking soda together they give the cookies just enough lift while keeping them thick.
- All-purpose flour provides structure for these oversized bakery-style cookies.
- Graham cracker crumbs are the secret ingredient that gives these cookies their signature s’mores flavor.
- Semi-sweet chocolate chips add plenty of melty chocolate throughout each cookie.
- Hershey’s milk chocolate bars give these cookies that authentic s’mores taste.
- Marshmallows are stuffed inside each cookie for an irresistible gooey center.
- Flaky sea salt finishes the cookies perfectly and enhances all of the flavors.
Kitchen Equipment You’ll Need to Make these S’mores Cookies
- Mixing bowls
- Handheld or stand mixer
- Measuring cups and spoons
- Ice cream scoop or large cookie scoop
- Baking sheets
- Parchment paper
How to Make the Best S’mores Cookies Ever!
Step 1: Make the Dough
Cream together the softened butter, white sugar, brown sugar, and vanilla until light and fluffy.
Beat in the eggs one at a time.
Mix in the baking soda, baking powder, salt, and part of the flour before adding the remaining flour. Mix just until combined.
Fold in the graham cracker crumbs, chocolate chips, and most of the chopped Hershey’s chocolate.
Cover and refrigerate the dough for at least one hour. Chilling prevents the cookies from spreading too much and creates thick, bakery-style cookies.
Step 2: Get ready to Bake!
Scoop a large ball of dough. Split it into two pieces and flatten one half. Place a marshmallow in the center and completely wrap it with the remaining dough. Seal well so the marshmallow doesn’t leak while baking.
Place the cookie dough balls several inches apart on parchment-lined baking sheets.
Top each cookie with a piece of Hershey’s chocolate and sprinkle with flaky sea salt.
Step 3: Bake
Bake at 350°F for about 12 minutes. The cookies should still look slightly underbaked in the center.
Allow them to cool almost completely on the baking sheet before transferring. This helps them finish baking while staying incredibly soft.
Tips for Perfect S’mores Cookies
- Chill the dough for at least an hour. This prevents too much spread and helps you have those THICK bakery-style cookies.
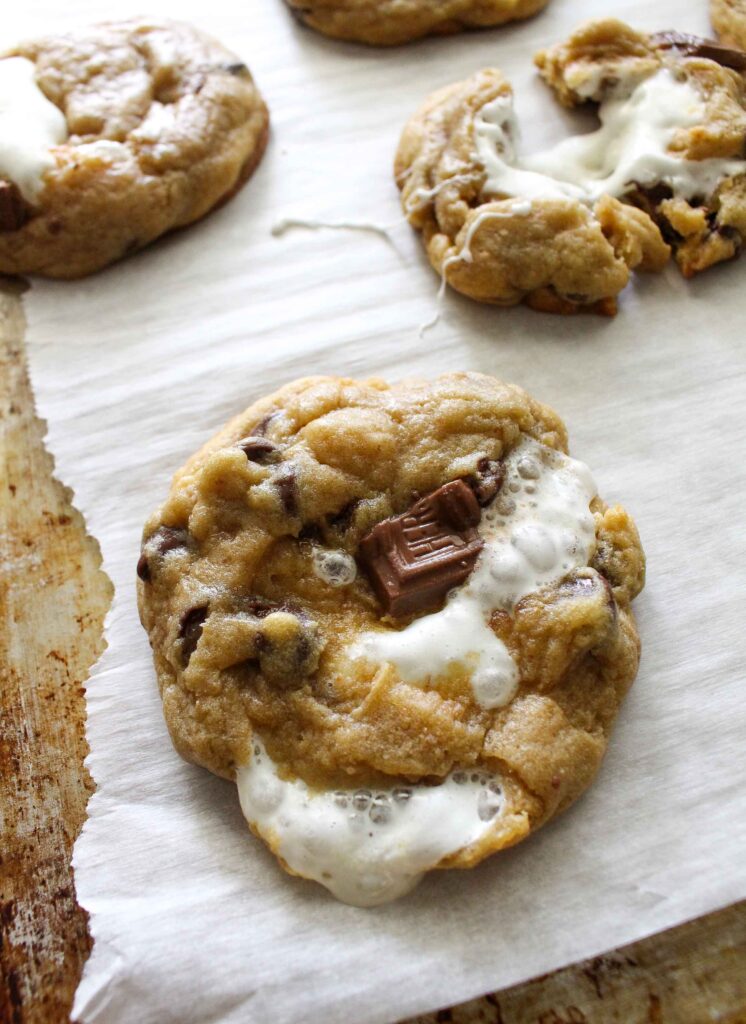
- Make sure the marshmallow is completely sealed inside the dough. If it leaks out, it will appear to “evaporate.”
- Don’t over-bake—the centers should still look soft. The dough will look slightly under-baked when you remove from the oven, but they’ll continue to bake on the baking sheet.
- Use a large cookie scoop for thick bakery-style cookies.
- Sprinkle flaky sea salt on top right before baking for incredible flavor.
Storage
Store cooled cookies in an airtight container for up to 4 days. To enjoy that gooey marshmallow center again, microwave a cookie for 10–15 seconds.
Frequently Asked Questions About This Recipe
Why did my marshmallow disappear?
The marshmallow wasn’t completely sealed inside the cookie dough. Make sure it’s fully enclosed before baking.
Can I make smaller cookies?
Absolutely. Use half of a marshmallow for each cookie and reduce the baking time by a few minutes.
Can I make the dough ahead of time?
Yes! The dough can be refrigerated for up to 3 days before baking.
Can I use mini marshmallows?
Large marshmallows work best because they stay gooey in the center. Mini marshmallows tend to melt into the dough.
What chocolate works best?
Classic Hershey’s milk chocolate creates the most authentic s’mores flavor, but any favorite chocolate bar works beautifully.
More S’mores-Inspired Recipes You’ll Love:
These truly are the BEST S’mores Cookies Ever. Thick, buttery cookie dough packed with graham crackers and chocolate surrounds a perfectly gooey marshmallow center, creating everything you love about traditional s’mores in one incredible cookie.
They’re guaranteed to disappear fast, so don’t be surprised if everyone asks for the recipe!
The BEST S’mores Cookies Ever (Soft, Gooey & Bakery-Style Stuffed Cookies)
Ingredients
- 1 cup (2 sticks) salted butter, softened
- 3/4 cup white sugar
- 3/4 cup brown sugar
- 2 teaspoons pure vanilla extract
- 2 large eggs, at room temperature
- 1 teaspoon baking soda
- 1/2 teaspoon baking powder
- 1/2 teaspoon salt
- 2 1/2 cups all-purpose flour
- 1 1/4 cups graham cracker crumbs
- 1 cup semi-sweet chocolate chips
- 2 Hershey’s milk chocolate bars, chopped (or swap your favorite), divided (see instructions)
- 16 large marshmallows
- Maldon sea salt
Instructions
- In a large bowl, using a handheld mixer, cream the butter with the white sugar, brown sugar, and vanilla extract until combined.
- Add the eggs, one at a time, mixing well in between.
- Add the baking soda, baking powder, salt and 1 cup of flour to the bowl. Using the handheld mixer on medium speed, mix the dry ingredients into the wet ingredients until just combined. Once incorporated, add the remaining flour and mix until just combined.
- Finally, mix in the graham cracker crumbs, chocolate chips, and chopped Hershey bars, saving ½ bar for decorating the cookies before baking.
- Refrigerate the dough for at least 1 hour, up to a few days.
- When ready to bake, preheat the oven to 350F. Line 2 baking sheets with parchment paper and set aside. If the dough has been refrigerated for an extended period of time, let it soften to be able to scoop.
- Using an ice cream scoop, scoop a large ball of dough, between the size of a golf ball and tennis ball. Divide the ball in half and flatten half of it. Place a marshmallow in the middle and cover completely with the other half of the dough, re-forming into a ball. Make sure the marshmallow is completely covered or it will evaporate in the oven and you won’t be able to see it (but they’ll still taste great!).
- Place on the prepared baking sheet, leaving several inches of space between each ball of dough (I only fit 6 cookies on each baking sheet). Decorate with a half-piece of the Hershey’s bar and sprinkle with salt. Repeat with the remaining dough. You should be able to make about 16 cookies.
- Bake for 10-12 minutes. The cookies should look under-cooked when done. Let cool, nearly completely, on the baking sheet. When mostly cooled, transfer to a flat plate carefully. Enjoy!!
Don’t Forget to PIN this recipe to save for later!

xx